Builder gel not curing is almost never a "bad gel" problem — after dozens of these troubleshoots in client work and helping at-home users, the same five root causes account for nearly every case I see: lamp wattage mismatch, beads too thick, pigment density, finger geometry under the lamp, and bulb degradation.
This guide is a diagnostic walkthrough — figure out which of the five is actually happening to you, then apply the targeted fix. No more "try cure for longer and hope" guesswork.
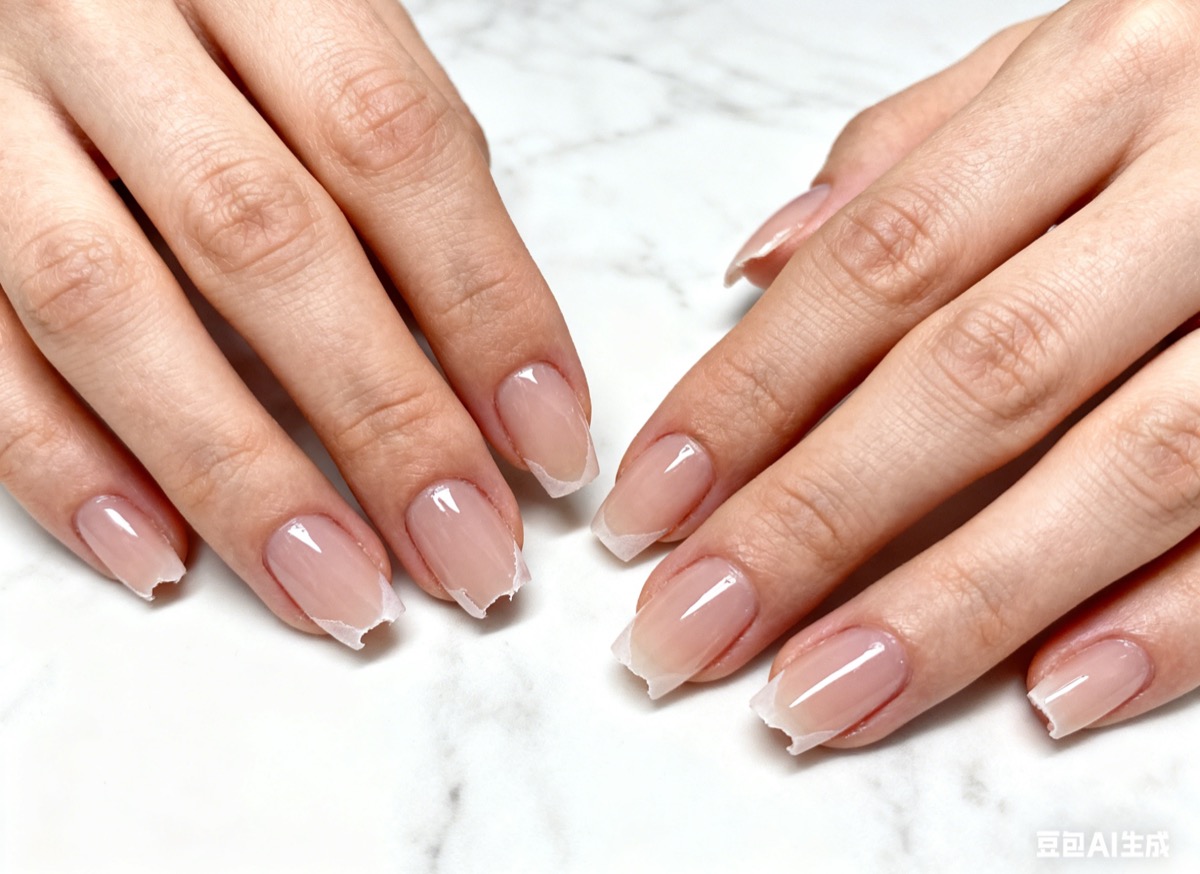
If your gel is sticky after curing, that may not actually be under-cure — see why builder gel is sticky first to rule out the inhibition layer.
If You're Replacing Your Setup
Cure-reliable kits I recommend after a failed batch
When a kit consistently under-cures, swapping to one of these solves it 9 times out of 10. All Amazon-stocked, all LED-cure verified.

modelones Builder Nail Gel, 7-in-One Clear Builder for Nails, LED Lamp Cured Color Rubber Base Gel Polish Coat Strengthener Thickening Extension Rhinestone Glue in a Bottle for DIY Home Salon Gifts
$7.64

Beetles Builder Gel Low Heat,0.5 oz Clear Gel Builder for Natural Nails Building Apex & Strengthener Extension with Detachable Liner Nail Brush for Beginner DIY Salon at Home Gifts,UV&LED Lamp Needed
$9.99

Orly Builder In A Bottle Soak-Off Sculpting Gel For Quick Nail Extension, Repair And Strengthening | Long-Lasting Builder Gel With Brush-On Application | Salon-Quality Nails At Home (18ml)
$17.99

IBD Building Gel Clear – Hard Builder Gel for Nails Extensions, Soak-Off UV/LED for Sculpting & Strengthening, Nail Enhancement Gels, 0.5 oz
$8.78
Scroll →
Step 0 — Is It Actually Uncured? The Tack Test
Before troubleshooting cure, confirm the problem is real:
| Symptom | Likely diagnosis |
|---|---|
| Surface tacky/sticky, but firm underneath | Normal inhibition layer — wipe with alcohol; not under-cure |
| Surface tacky AND dents under fingernail pressure | Under-cured — the issue is real |
| Surface fine but the gel feels warm hours after | Heat-spike from over-application, not under-cure |
| Gel scratches off in flakes | Severe under-cure — full removal needed |
| Free edge soft, rest fine | Partial cure — bead too thick at tip |
Confirm under-cure by pressing a fingernail into a hidden area. Cured gel resists indentation. Under-cured gel deforms permanently.
The 5-Layer Cure Stack — What Actually Cures What
Builder gel cure depends on photons reaching photoinitiators inside the gel. Anything blocking photons stops cure. The "stack" between your lamp and the gel core looks like:
- Lamp bulbs — emit UV/LED at specific wavelengths (typically 365-405nm)
- Air gap — distance from bulb to nail surface (closer = more dose)
- Top of gel bead — gets the highest photon dose
- Middle of gel bead — partially shielded by the top layer's pigments
- Bottom of gel bead — receives the least light, cures last and weakest
Under-cure happens when stage 4 or 5 does not receive enough photon dose. The fix depends on which stage is failing.
Cause #1 — Lamp Wattage and Wavelength Mismatch
This is the #1 cause I see. Cheap kits ship 24W or 36W lamps that simply do not deliver enough photon dose to fully cure modern builder gel formulas.
Diagnostic signs:
- Same gel cures fine in a salon lamp, fails in your home lamp
- Cure failures across all colors, all bead sizes
- Lamp feels weak / dim when on
Minimum specs in 2026:
- 48W or higher total wattage
- Dual UV+LED mode (some older formulas need UV)
- Wavelength range 365-405nm with bulbs covering both ends
- Bulbs accessible for replacement
The fix: Replace the lamp. A 48W+ LED lamp from a reputable brand costs $20-$40 and resolves about 60% of "gel not curing" cases I see at home.
Cause #2 — Bead Thickness vs Light Penetration
Photons can only travel so far through gel before being absorbed. A bead that looks fine on top can be uncured at the bottom.
Diagnostic signs:
- Top of nail feels firm, free edge feels soft
- Cure fails on long extension tips but works on overlays
- Apex is soft when pressed but cuticle area is fine
Maximum bead thickness for full cure under 48W LED:
- Clear builder gel: ~2mm before cure compromises
- Tinted/colored builder gel: ~1.5mm
- Cover/dark colors: ~1mm — must build in two thin layers
The fix: Build in two thin layers instead of one thick layer. Cure each layer fully before adding the next. Yes, it takes 30 seconds longer per nail. It is the difference between cured and not cured.

Cause #3 — Pigments and Cover Builders Blocking Light
Tinted, milky, and cover builders contain pigments that absorb the same wavelengths your lamp emits. The pigments cure on the surface but the bottom layer stays partially uncured.
Diagnostic signs:
- Clear builder cures fine, colored builder of same brand does not
- Dark or opaque colors fail more than translucent
- "Cover pink" or "cover beige" builders specifically have issues
The fix:
- Cure colored builders longer — add 30-60 seconds to manufacturer's stated cure time
- Build colored layers thinner — half the thickness you would use for clear
- Use a clear base layer under colored builder when possible
If a brand's tinted formula consistently under-cures even with extended cure, that brand-color combination is incompatible with your lamp wavelength. Switch to a different colored builder rather than fighting it.
Cause #4 — Thumb-Specific Finger Geometry
Thumbs cure differently than other fingers. They sit at a different angle in most lamps, and the side facing the lamp wall (not the bulbs) gets a fraction of the photon dose other nails receive.
Diagnostic signs:
- Thumbs only — under-cure or rubbery
- Other 4 fingers cure fine in the same set
- Thumb edge nearest to your body cures, opposite side does not
The fix:
- Cure thumbs separately from the other 4 fingers
- Cure each thumb for 90-120 seconds (vs 60 seconds for other fingers)
- Position thumbs centered under the lamp with the cured side facing the bulbs
- Optionally rotate halfway through the cure so both sides receive light
This is the single highest-value fix for thumb-only under-cure problems.
Cause #5 — Lamp Bulb Degradation Over Time
LED lamps lose output over time. UV lamps lose output faster. A lamp that worked perfectly 2 years ago may now under-cure simply from bulb wear.
Diagnostic signs:
- Same gel + same lamp + same technique used to work, suddenly does not
- Cure times have crept longer to get the same result
- Lamp visually dimmer than when new
- More than 18 months of regular use
Lamp lifespans:
- LED bulbs: rated for ~50,000 hours but practical degradation starts at ~20,000 hours of use (about 2-3 years of daily home use)
- UV bulbs (CCFL): ~10,000 hours, faster decline — replace at 12-18 months of regular use
The fix: Replace bulbs (if your lamp supports replacement) or replace the lamp entirely. Lamps with non-replaceable bulbs are essentially disposable and need full replacement every 2-3 years.
Brand-Specific Notes
A few brand patterns I see come up repeatedly:
Modelones builder gel not curing: Almost always lamp wattage. Modelones formula cures fine under 48W+ LED lamps. The included lamp in some Modelones bundles is 36W, which sits at the boundary — fine for clear, marginal for tinted.
Beetles builder gel not curing: Same pattern. Beetles' colored 8-in-1 needs longer cure than the clear from the same kit. Add 30-45 seconds to colored shades.
BIAB not curing: The GelBottle BIAB is a strong cure formula but specifically needs LED 60 seconds (not less). Beginners under-cure BIAB by trusting the "self-leveling" feel — the gel may flow correctly but still need full cure dose.
Generic Amazon builder gels: Quality control is too inconsistent to predict. The same listing can ship two different formulas in two different months. If a generic gel chronically under-cures, the fix is a different gel, not a different lamp.
The Recovery Procedure (Step-by-Step)
If your current set is under-cured, here is the recovery process:
Light Under-Cure (Surface Tack Only, Structure Firm)
- Wipe surface with 91% isopropyl alcohol
- Re-cure 60 additional seconds under 48W+ LED
- Test for firmness with fingernail press
- If firm, top coat and done. If still soft, escalate to medium under-cure procedure
Medium Under-Cure (Surface Soft, Structure Mostly Firm)
- File down the soft top layer with 220-grit file (about 0.3mm off the surface)
- Wipe with alcohol
- Apply a thin slip layer of fresh builder gel
- Cure 90 seconds (longer than normal — recovery cure)
- Test for firmness
- If firm, top coat. If soft, full removal and restart
Severe Under-Cure (Rubbery, Dents Under Pressure)
Do not try to recover. The gel core is uncured and will:
- Trigger acrylate sensitization risk on contact with skin
- Continue to fail mechanically over time
- Lift, peel, and crack within days
Full removal is the only safe option. See how to remove builder gel.
Read next
How to Remove Builder Gel at Home Safely: 3 Methods Compared (2026)
Three methods to remove builder gel — file-and-soak, file-only, and salon e-file — compared on time, safety, and nail-health impact. Plus a detailed step-by-step for the safest at-home method.
Continue readingThe Allergy and Safety Issue
Uncured gel monomers (especially HEMA and similar acrylates) can cause acrylate contact dermatitis when they touch skin. The American Academy of Dermatology has tracked rising case rates over the past several years, particularly tied to repeated under-cured gel exposure.
This is not a "small chance" — sensitization is cumulative. Each exposure to uncured monomers raises your future risk of permanent allergy to all gel products. Nail technicians have lost careers to acrylate allergies that started with home-curing failures.
If your gel feels rubbery, soft, or warm after curing — or worse, your skin reacts (redness, itching, swelling around the nail) — stop, remove, and reassess your equipment. This is the one nail-product issue I will not sugar-coat.
Lamp Buying Guide for 2026
If you decide to upgrade your lamp, the rough hierarchy:
| Tier | Wattage | Cost | Use case |
|---|---|---|---|
| Entry | 48W | $20-$30 | Most DIY home use |
| Mid | 54-72W | $30-$50 | Frequent at-home, fast pro cure |
| Pro | 86-110W | $80-$150 | Salon use, all formulas, fastest cure |
Avoid: lamps under 48W, lamps with non-removable bulbs, "fast cure" 24W travel lamps, any lamp without UV+LED dual mode.
Look for: 365-405nm wavelength range, removable bulbs, low-heat mode (reduces heat spikes), built-in timer with 10/30/60/90s presets.
Frequently Asked Questions
Why is my builder gel not curing? Five causes account for almost all cases: lamp wattage too low, bead too thick, pigment density blocking light, thumb geometry under the lamp, or lamp bulb degradation. Use the diagnostic above to identify yours.
Why won't my builder gel cure under my UV lamp? UV lamps degrade faster than LED. If your UV lamp is over 18 months old or 1,000+ hours of use, the bulbs are likely too dim. Replace bulbs or upgrade to a dual UV+LED lamp.
Is the tacky layer always under-cure? No. A thin tacky layer on the surface is the normal "inhibition layer" that all soak-off gels have — it wipes off with alcohol. Under-cure is when the gel underneath the surface is also soft, dents under pressure, or feels rubbery.
Do I need a 48W lamp for builder gel? Yes for reliable cure. Lamps under 48W work for some formulas under ideal conditions but fail with thicker beads, colored builders, and after some bulb wear. 48W is the practical minimum.
Can I just wipe and top coat under-cured gel? No. If the gel underneath is soft, top coat just seals an uncured monomer layer — same allergy risk, plus the structure will fail. Fix the cure before top coating.
Why does my BIAB not cure even with the right lamp? Most likely bead thickness. BIAB self-levels into thinner films than it looks like during application — but if you over-bead, the bottom under-cures even at 60-second cure. Try a smaller bead and 60 seconds LED.
Modelones builder gel not curing — is the gel bad? Probably the lamp, not the gel. Modelones cures reliably under 48W+ LED. The lamp included in some Modelones kit bundles is 36W, which is the boundary case for tinted shades.
What to do if builder gel is sticky? First confirm it's true under-cure not normal inhibition (use the tack test above). If just inhibition, wipe with alcohol — done. If under-cure, follow the recovery procedure above.
Final Notes from Sara
Cure failures are equipment failures more often than technique failures. A good lamp and proper bead size solve most cure issues by themselves.
Do not buy expensive premium gel to fix cure problems caused by a $15 lamp. Upgrade the lamp first. Once your lamp is delivering enough photon dose, almost any reputable builder gel cures correctly.
For technique on building beads and proper layers, see the how to use builder gel guide. For the foundational principles of safe gel work, the Builder Gel Nails pillar is the reference.
If your gel is also cracking, see builder gel cracking fixes — under-cure compounds cracking issues badly.
Last updated May 2026. This article uses AI assistance for research and structure; all troubleshooting steps and brand-specific notes come from my own client work.