Builder gel for 3D nail art is the single best medium I have found for sculpting raised flowers, bows and hearts that actually stay put, because a firm-viscosity builder gel holds the shape you place it in instead of flowing flat before you can cure it. Most people who try 3D work fail for one reason: they reach for the soft, self-leveling gel sitting in their kit, build a petal, and watch it melt into a puddle on the way to the lamp. The gel was never the problem with their idea — it was the wrong gel for the job.
This is a technique page, not a product roundup. I will show you which kind of builder gel can stand up off the nail, the handful of tools that make sculpting possible, the build-cure-build method that lets you stack height without slumping, and the beginner mistakes that wreck a design before it sets. I have been sculpting gel art on clients for over eight years, and almost everything that goes wrong with 3D work traces back to viscosity and patience — not talent.
Why Firm-Viscosity Builder Gel Beats Soft Gel for 3D Work
The whole game with 3D nail art is whether the gel keeps its shape between placement and cure. Soft builder gel is engineered to self-level — to flatten your brushstrokes so an overlay comes out glassy and smooth. That is exactly what you do not want when you are trying to build a petal that stands proud of the nail.
A firm builder gel behaves more like a stiff acrylic bead. You can pull it into a point, press a ridge into it, or stack a second layer on top, and it will hold that geometry long enough to flash-cure. The thicker the gel, the more vertical detail it can carry. This is why the same product strength people choose for sculpting extensions is also the right pick for raised art — both jobs ask the gel to defy gravity.
A quick way to test any gel before you commit to a design: place a small bead on a practice tip, stand the tip upright, and count. If the bead visibly sags within ten seconds, it is too soft for 3D. If it holds its dome, you can sculpt with it.
Which Builder Gels Actually Hold a 3D Shape
Not every "builder gel" on the shelf can do this. The viscosity ranges enormously between brands, and the label rarely tells you. After years of trial and error, the firm-tier gels I reach for when I want height are the ones below.

Beetles 3-Piece 15ml Builder Nail Gel Set
$11.99
Amazon price as of Oct 19, 2026
The Beetles 3-piece 15ml set is my everyday workhorse for raised art. The clear is dense enough to sculpt a small flower freehand, and because it comes in three tubes I can keep one purely for art and not contaminate it with color. For pure white petals and bows, I use it as a base layer and paint detail on top once cured.
When I want a dedicated sculpting medium that is stiffer still — closer to a moldable putty — I switch to a form gel.
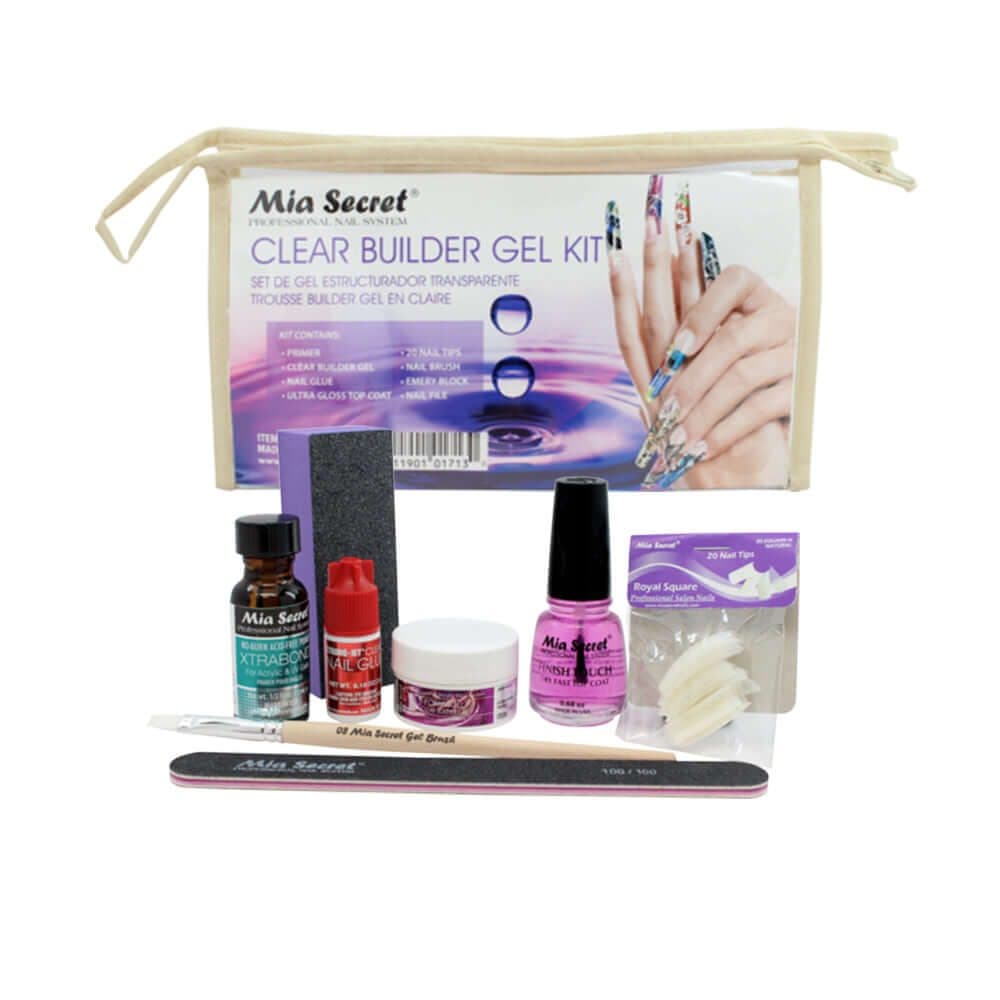
Mia Secret Formagel Builder Gel Kit
$25.93
Amazon price as of Oct 19, 2026
Mia Secret Formagel is firmer than most consumer builder gels and barely flows at all, which makes it forgiving for beginners learning to stack height. The trade-off is that it is less self-smoothing, so you do more shaping by hand. For 3D flowers and bows, that stiffness is a feature, not a bug.
For sculpted 3D art — Amazon
The firm builder gels that hold a 3D shape
Stiffer-viscosity builder gels that let you sculpt flowers and bows without the gel slumping before cure.

Beetles 3D Gel Nail Art Kit-1oz Clear Solid Builder Nail Gel,5 in 1 Non-Sticky Hand Sculpting Building 3D Nails for Beginner DIY Salon at Home,UV & LED Lamp Cured Needed,Crystal Orb Gifts for Women
$12.99
Amazon price as of Oct 19, 2026
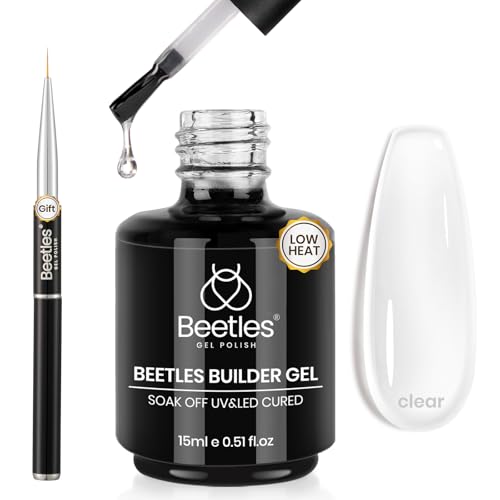
Beetles Builder Gel Low Heat,0.5 oz Clear Gel Builder for Natural Nails Building Apex & Strengthener Extension with Detachable Liner Nail Brush for Beginner DIY Salon at Home Gifts,UV&LED Lamp Needed
$8.99
Amazon price as of Oct 19, 2026

IBD Hard Builder Gel for Nails, Round – Clear, UV/LED Gels for Nail Extensions & Sculpting Strong Long-Lasting Enhancement for Women, 2 oz, 1 Pack
$16.88
Amazon price as of Oct 19, 2026
Scroll →
Product prices and availability are accurate as of Oct 19, 2026 and are subject to change.
If you are still deciding between brands generally, I keep a running comparison of textures and finishes on the builder gel nails ideas page that is worth a look before you buy.
The Tools That Make 3D Sculpting Possible
You cannot sculpt good 3D art with a flat gel brush alone. The tools below are what separate a clean petal from a blob.
- A fine detail brush (round, size 2/0 or smaller) for painting petals and pulling thin lines of color.
- A dotting tool or two for hearts, flower centers and pressing dimples into petals.
- A silicone clay shaper with a tapered tip — this is what lets you push and lift gel without it sticking to bristles.
- A pair of fine tweezers for placing pre-cured elements like tiny pearls or stamen pieces.
- A focused-beam LED lamp or a 365nm flash penlight for spot-curing one petal at a time without setting the rest.
That spot-curing lamp is the unsung hero. A full-hand lamp cures everything at once, which means you cannot build one element, lock it, and add another. A small flash cure light is what makes the build-cure-build method below work.
The Build-Cure-Build Method, Step by Step
This is the core skill. Instead of sculpting a whole flower and hoping it survives one long cure, you build it in flash-cured layers so each piece locks before the next is added. Here is exactly how I sculpt a five-petal 3D flower.
Step 1 — Prep and lay a cured base
Finish your nail as normal — prep, base, color, and a cured layer of builder gel as the foundation. Your 3D element needs cured gel to grip; raw gel on raw gel will lift.
Step 2 — Place the first petal bead
Pick up a small bead of firm builder gel on your detail brush and set it where the petal starts. Do not spread it thin. You want a defined teardrop.
Step 3 — Shape, then flash-cure
Use the silicone shaper to pull the bead into a petal point and press a center vein. Flash-cure that single petal for 10-15 seconds. It is now locked.
Step 4 — Repeat around the center
Add the next petal slightly overlapping the first, shape it, flash-cure. Work around the circle. Curing between each petal is what stops the whole flower from sliding into a clump.
Step 5 — Build the center and add height
Drop a domed bead in the middle for the flower center, or stack a second smaller layer of petals on top of the first for a layered rose. Each new layer gets its own flash cure.
Step 6 — Full cure and inspect
Once the whole flower is built, give it one final full cure in your lamp. Check that no edges are tacky or lifting before you move on to sealing.
The same logic builds a bow: two cured teardrop loops, a cured center knot pressed over the join, and two cured ribbon tails. Hearts are simplest — two beads pulled to a point at the bottom, shaped with a dotting tool at the top, cured once.
How to Sculpt a 3D Flower That Looks Real
Realism comes from asymmetry and depth, not perfect symmetry. Vary petal sizes slightly. Press a vein down the center of each. Let the outer petals sit flatter and the inner ones stand taller so the flower has a cupped, blooming shape rather than a flat starburst. A tiny dot of contrasting gel in the center, cured last, reads as a stamen and sells the whole thing.
Color matters too. I sculpt petals in a translucent or white firm gel first, cure, then paint thin washes of color on top and cure again. Painting over a cured 3D base gives cleaner color than trying to sculpt with pigmented gel, which is often softer and slumps.
Sealing and Encapsulating Your 3D Art
Raised art is fragile until it is protected, and how you seal it depends on the look you want.
For art that should stay raised and glossy, cap each element with a thin layer of clear builder gel or a no-wipe top coat, working it gently around the base of the flower so nothing lifts at the edges. Cure, then remove the tacky layer.
For a smoother, longer-wearing result — especially on toes or for clients who are hard on their hands — you can fully encapsulate flatter elements by flooding clear builder gel over the top and self-leveling it into a dome. This buries the art under a protective shell. I walk through the exact flooding and leveling process on the builder gel encapsulation technique page, and it is the single biggest thing you can do to make delicate art survive two weeks.
Read next
Builder Gel Encapsulation Technique: The Pro Move That Locks Glitter, Foil, and Art Forever (2026)
The builder gel encapsulation technique sealed under a clear gel dome lets you trap glitter, dried flowers, foil, and 3D art permanently — and stops chipping at the edges that bothers everyone the first time. The full pro sequence.
Continue readingA note on encapsulation and height: the taller your flower, the harder it is to bury without trapping bubbles or building a thick, heavy nail. For genuinely tall 3D pieces, cap-and-protect the base rather than fully encapsulating. Save full encapsulation for low-relief designs, glitter, and dried flowers.
Skin-Contact Safety When You Are Sculpting Slowly
3D work means uncured gel sits near the skin longer than a quick overlay, and that raises the odds of accidental skin contact. Uncured gel monomers are a known sensitizer — repeated contact can trigger an allergic reaction that, once developed, often means you can never wear gel again. The American Academy of Dermatology's contact dermatitis overview explains how this kind of sensitization builds up over time.
Practical guardrails: keep gel off the cuticle and sidewalls, wipe any flooding before it touches skin, never cure gel that has pooled on the finger, and wear gloves if you are sculpting on yourself for long sessions. Slower work is safer work only if you are also tidier about containment.
A Real Lesson: The Wedding-Set Petals That Slid Off
In March 2025 I had a bride book a full sculpted-flower set the morning of her rehearsal dinner. I was rushing, grabbed my soft self-leveling builder gel out of habit instead of my firm tube, and sculpted three petals on the ring finger. By the time I lifted the brush for the fourth, the first three had slid into a shapeless mound — the gel was simply too soft to hold the height. I had to scrape it off and restart with the firm gel and flash-cure each petal. Lesson burned in permanently: viscosity first, speed second. I now keep my firm "art" tube physically separated from my overlay gels so I can never grab the wrong one under pressure.
Beginner Mistakes That Wreck 3D Art
Most failures are predictable. Here are the ones I see most:
- Using soft, self-leveling gel. It will not hold height. This is the number-one cause of slumped designs.
- Skipping flash cures. Building a whole flower in one go before curing guarantees it slides.
- Beads too big. Large beads slump under their own weight and trap bubbles. Build small, build often.
- Sculpting with pigmented gel. Colored gels are usually softer; sculpt in firm clear or white, then paint.
- Over-curing between layers. A short flash (10-15s) locks shape; a full cure between every petal makes the surface so hard the next layer can lift.
- No protective cap. Unsealed raised art chips within days. Always cap or encapsulate.
If you are brand new to the medium itself, start with the fundamentals on how to use builder gel before attempting raised art — get a clean overlay reliable first, then add height.
Where to Go From Here
3D sculpting is a skill that compounds. Once you can build a clean petal and lock it with a flash cure, bows, hearts, leaves and layered roses are all variations on the same build-cure-build move. Practice on tips, not on a client, until your beads stop slumping.
For more on choosing firm gels, see my deep dive on the best builder gel for sculpting extensions, and for inspiration and color pairings browse the builder gel nails ideas gallery. Everything connects back to the Builder Gel Atlas, where I keep the full map of techniques, brands and tutorials on this site.
Frequently Asked Questions
Can you really do 3D nail art with builder gel instead of acrylic?
Yes — as long as you use a firm-viscosity builder gel and the build-cure-build method. Firm builder gel holds a sculpted shape much like acrylic, and it has the advantage of curing on demand under a lamp so you control exactly when each element sets. Soft, self-leveling builder gel cannot do 3D work; the gel choice matters more than the chemistry category.
What is the best builder gel for 3D flowers?
A firm or stiff builder gel that barely flows is best for 3D flowers. I use the Beetles 3-piece 15ml for everyday raised art and Mia Secret Formagel when I want maximum stiffness for tall petals. The test is simple: if a bead holds its dome for ten seconds standing upright, it can sculpt a flower.
Do I need a special lamp for 3D nail art?
You do not strictly need one, but a small flash-cure or spot-cure light makes 3D work dramatically easier because it lets you lock one petal at a time. A full-hand lamp cures everything at once, which forces you to build the entire element before curing — and that is exactly when designs slump. A focused-beam penlight is an inexpensive upgrade.
How do I keep my 3D nail art from breaking off?
Seal it. Cap each element with a thin layer of clear builder gel or no-wipe top coat, working gently around the base so nothing lifts. For low-relief designs, fully encapsulate by flooding clear builder gel over the top. Avoid building elements taller than they need to be, and keep the design off high-impact areas like the very tip.
Is builder gel safe to use for detailed art that takes a long time?
It is safe when you keep uncured gel off your skin. Longer sculpting sessions mean raw gel sits near the cuticle longer, which raises the risk of developing an allergy to the monomers. Keep gel off the skin, cure fully, and wear gloves for long self-sessions. The AAD's contact dermatitis resource explains how this sensitization develops.
Last updated June 2026. This article uses AI assistance for research and structure; the 3D sculpting methods here are the ones I teach in person.