This is the salon-tested guide to how to use builder gel — the full eight-step routine I run in salon chair, adapted for at-home application. Each step includes timing, the common mistake to avoid, and the troubleshooting fix if something goes wrong mid-application.
If you have never done builder gel before, also read the Builder Gel Nails pillar guide first for the foundational concepts (apex, cure, soak-off vs hard gel). The application below assumes you understand those.
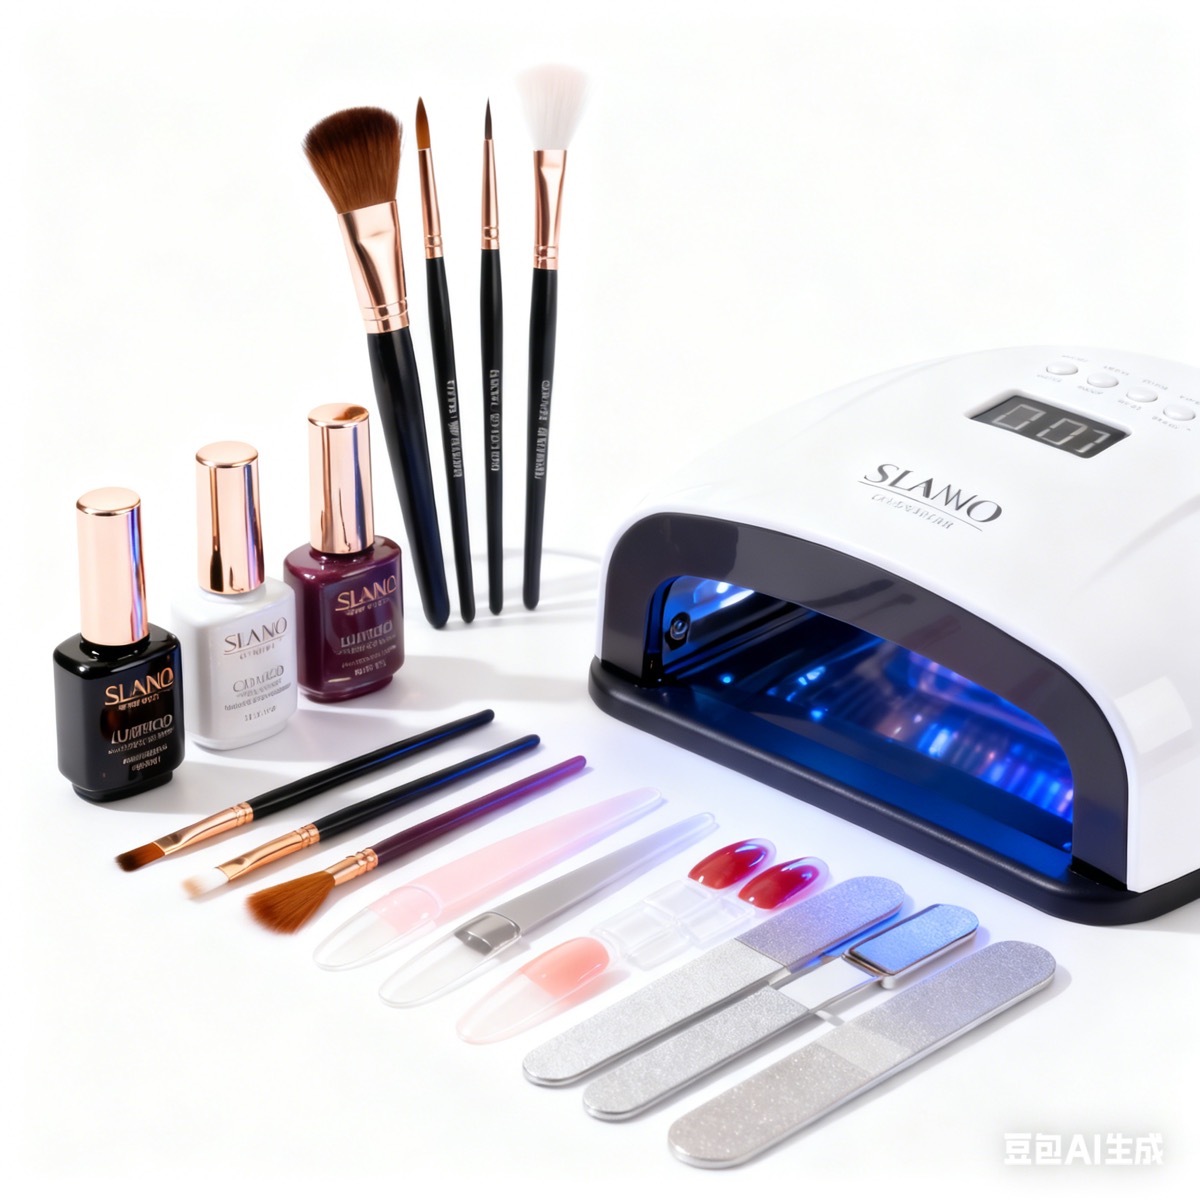
What I'm Using in This Tutorial
The gel + lamp pairing I demo with
Beginner-forgiving formulas that cure cleanly under any 48W LED. Stocked on Amazon — fastest path to start practicing tonight.

modelones Builder Nail Gel, 7-in-One Clear Builder for Nails, LED Lamp Cured Color Rubber Base Gel Polish Coat Strengthener Thickening Extension Rhinestone Glue in a Bottle for DIY Home Salon Gifts
$7.64

Beetles Builder Gel for Nails,0.51 oz 8 in 1 Strengthening Nails Enhancement Building Apex for Beginners & DIY Salon Manicure,Clear Builder Nail Gel,LED & UV Lamp Needed,Gifts for Women
$7.99

Orly Builder In A Bottle Soak-Off Sculpting Gel For Quick Nail Extension, Repair And Strengthening | Long-Lasting Builder Gel With Brush-On Application | Salon-Quality Nails At Home (18ml)
$17.99

IBD Building Gel Clear – Hard Builder Gel for Nails Extensions, Soak-Off UV/LED for Sculpting & Strengthening, Nail Enhancement Gels, 0.5 oz
$8.78
Scroll →
What You'll Be Doing
A full builder gel set takes 60-90 minutes for a beginner DIY. The eight steps:
- Prep the natural nail (5-7 min)
- Base coat application + cure (3-5 min)
- Slip layer of builder gel (2-3 min, no cure yet)
- Apex placement + flash cure (3-5 min)
- Full cure (2-3 min)
- Refine shape with file (5-10 min)
- Top coat application + cure (3-5 min)
- Wipe inhibition layer + finish (1-2 min)
Total active time: ~25-40 min. The rest is cure waits and refining.
Tools and Supplies Checklist
Before you start, have all of this within arm's reach:
Required:
- Builder gel (your chosen brand)
- Base coat compatible with your builder
- Top coat compatible with your builder
- 48W or stronger LED lamp
- 91% isopropyl alcohol + lint-free wipes
- Cuticle pusher (metal or wood)
- 180-grit buffer
- 100/180-grit file (for shaping)
- 220-grit file (for refining)
- Small synthetic flat or oval brush (size 4-8)
Optional but recommended:
- Nail dehydrator (especially for oily nails)
- Primer (for habitual lifters)
- Dust brush
- Cuticle oil (for finishing)
If you are starting from scratch with no tools, see the best builder gel kits guide for kit recommendations that include most of this.
Step 1 — Prep for Adhesion (5-7 minutes)
Clean prep is 80% of wear time. Skip any of this and you are signing up for early lift.
Sub-steps:
- Soak hands in warm water 2-3 min to soften cuticles
- Dry thoroughly with a clean towel
- Push cuticles back gently with a metal pusher — push, do not scrape
- Use the pusher edge to remove the eponychium (thin film of dead skin on the nail plate near cuticle)
- Light buff with 180-grit in 3-4 strokes per nail — just remove shine
- Dust off
- Wipe each nail with 91% isopropyl alcohol
- Wait 30 seconds for surface moisture to evaporate
- (Optional) Apply dehydrator if your nails are oily, then primer if you have history of lifting

Common mistake: Skipping eponymium removal. The thin dead-skin film looks invisible but blocks bond completely. Day 1-3 lift is almost always this.
If your nails are oily: Skip the warm-water soak (it adds surface moisture). Just push cuticles dry. Dehydrate with alcohol twice instead of once. Apply primer.
For deeper lifting troubleshooting, see builder gel lifting fixes.
Read next
Builder Gel Lifting? When It Lifts Tells You Why It's Lifting (2026)
When your builder gel lifts tells you exactly what went wrong. Day 1-3 means prep failed. Day 4-7 means cure failed. Day 8+ usually means impact or natural regrowth.
Continue readingStep 2 — Base Coat (3-5 minutes)
Apply a thin layer of base coat to all 10 nails. Do not flood the cuticle area. Cure 30-60 seconds per the manufacturer's instructions.

Common mistake: Applying base coat too thick. Base coat is a bond layer, not a structural layer — it should be barely visible.
If your kit is "all-in-one" without separate base: Skip step 2. Some 4-in-1 builders (OPI GELevate) act as their own base.
Step 3 — Slip Layer (2-3 minutes)
Apply a very thin coat of builder gel as a slip layer — this gives the structural beads something to glide onto. Do NOT cure this layer yet.

The slip layer should look almost translucent. If you can see a clear thick layer, it is too much.
Common mistake: Curing the slip layer separately. The bead in step 4 needs the wet slip layer underneath to flow correctly. Curing makes them disconnect and you get a layered look.
Step 4 — Apex Placement and Flash Cure (3-5 minutes per nail)
This is the structural step. Place a bead of builder gel and shape it into the apex.
Where the apex goes: About 1/3 of the way back from the free edge. The apex is the highest point of the gel — it should sit directly over the stress point of your natural nail (the spot where the nail bends most under pressure).
The placement:
- Pick up a bead with your brush (or spatula for thicker formulas)
- Place the bead just behind the apex zone
- Use the brush to flow the bead toward the cuticle, leaving a 0.5-1mm gap from skin
- Tilt the finger so the gel self-levels into the apex shape
- Refine sidewall placement — keep gel away from skin
- Flash cure 10-20 seconds (LED) to lock the shape before the bead flows further


Common mistake: Apex too far back (under the cuticle). This gives you no support at the free edge — cracking is guaranteed. The apex must be over the stress point, not under the cuticle.
Another common mistake: Bead too large. New users always try to do everything in one bead. Two smaller beads with a flash cure between them is more controllable than one big one.
Builder gel application walkthrough
Step 5 — Full Cure (60-120 seconds)
After you have built and flash-cured the structure, do a full cure.
Times by formula type:
- Soak-off builder gel under 48W LED: 60 seconds
- Soak-off builder gel under 36W LED: 90-120 seconds
- Hard/firm builder gel: 60 seconds (often faster, like Kokoist Excel at 20s)
- Tinted/colored builder: add 30-60 seconds beyond clear cure time

Cure thumbs separately at 90-120 seconds — they sit at a different angle in the lamp and under-cure most often.
Common mistake: Trusting "kit times" on weak lamps. The 60-second cure on a 36W lamp under-cures tinted builder. Add time when in doubt — over-cure is fine, under-cure is a problem.
For full cure diagnostics, see builder gel not curing.
Read next
Builder Gel Not Curing? The 5 Real Causes and How to Fix Each (2026)
Builder gel not curing is almost always one of five specific causes — lamp wattage, bead thickness, pigment density, finger geometry, or bulb degradation. Diagnose which one and the fix is direct.
Continue readingStep 6 — Refine the Shape (5-10 minutes)
After full cure, the gel is hard but the shape is not perfect. Refine with a file.
Refinement order:
- Use 100/180 grit on the free edge to set length
- Switch to 180 grit to refine the sidewall and apex curve
- Use 220 grit for final smoothing
- Buff lightly with 240+ to prep for top coat

Look at your nail in profile. The apex should be visible as the highest point, sloping down toward the free edge and down toward the cuticle. If your nail looks flat in profile, the apex is too thin — go back to step 4 and add more.
Common mistake: Filing too aggressively at the apex. The apex should remain the thickest point. Most users accidentally file the apex flat trying to "smooth the surface."
Step 7 — Top Coat (3-5 minutes)
Apply a thin top coat across all 10 nails. Cap the free edge by running the brush along the underside tip — this is what seals the structure and prevents free-edge lift.
Cure 60 seconds (LED) per the top coat instructions.

Common mistake: Skipping the free-edge cap. The free edge cap is the difference between 14-day wear and 21-day wear.
Another common mistake: Top coat too thick. Two thin coats wear better than one thick coat (and don't crack on the surface).
Step 8 — Wipe Inhibition Layer + Finish (1-2 minutes)
After the final cure, the surface is tacky. This is the inhibition layer (normal). Wipe each nail with 91% isopropyl alcohol and a lint-free wipe.
If your top coat is "no-wipe" formula, skip this — no-wipe top coats cure to a gloss without an inhibition layer.
Apply cuticle oil to the cuticle area to rehydrate the skin (the alcohol dries it out). Done.
For a deeper look at sticky layer chemistry, see why builder gel is sticky.
Read next
Why Is My Builder Gel Sticky? The Inhibition Layer vs True Under-Cure (2026)
A sticky surface after cure is almost always normal — it's the oxygen inhibition layer. But sticky-and-rubbery is a real problem. Here's how to tell which is which in 60 seconds.
Continue readingVariations: Overlay vs Extension
The 8 steps above describe an overlay (no length added). For extensions, modify steps 4-5:
Extension variation:
- After step 3 (slip layer), apply an extension form OR a Gel-X tip (see builder gel vs Gel-X)
- Build the structure on the form/tip
- Refine while wet
- Cure 90+ seconds (extensions need more time)
- Remove the form
- Refine length
- Continue with step 6 (refine shape)
Extensions add 20-30 minutes to the total set time and significantly more practice to do well. Start with overlays.
Product Picks for the Process
Brands I use most often in this exact routine:

Modelones Builder Nail Gel Kit
Under $25

Beetles Builder Gel for Nails
Under $25

Kokoist Excel Builder Clear
$50–$120
For a fuller breakdown of which gel for which use case, see best builder gel products.
In-Process Troubleshooting
| Problem | Likely cause | Fix mid-set |
|---|---|---|
| Bead runs sideways | Bead too big, working too slow | Wipe off, try smaller bead, work faster |
| Bubbles in the gel | Over-brushing, gel agitated in jar | Stop brushing, lift brush slowly, do not pump |
| Flooding cuticle area | Too much product near skin | Wipe off the flood with alcohol BEFORE curing |
| Gel feels warm during cure | Heat spike from over-application | Pause the lamp 10-15 sec, wait, resume |
| Surface still tacky after cure (firm underneath) | Normal inhibition layer | Wipe with alcohol, top coat |
| Surface tacky AND soft underneath | Under-cure | See builder gel not curing |
| Visible cracks in surface | Top coat too thick | File surface, reapply thin top coat, recure |
First 24 Hours After Application
The first day matters for long-term wear:
- Avoid hot water (washing dishes, long showers) for 2-3 hours
- No oil-based products on hands for 4-6 hours
- Avoid hand sanitizer for 12 hours if possible
- Apply cuticle oil before bed (rehydrates skin around the nail)
After 24 hours, normal hand use is fine.
Maintenance Schedule
To get the most out of one set:
- Day 1: Wear normally, avoid solvent contact
- Day 7: Optional top coat refresh — buys 5-7 extra days of wear
- Day 14: Inspect for early lift, address with a quick rebalance if needed
- Day 21: Schedule a fill (or DIY fill) — natural nail has grown out enough that the cuticle line is visible
Frequently Asked Questions
How to use builder gel on natural nails? Follow the 8 steps above as a thin overlay (no length added). Apply 1-2 thin layers of builder gel as the structural step (4) and refine to a smooth contour. The natural-nail overlay is the easiest builder gel application — start here before attempting extensions.
How to apply builder gel on nails? Same 8 steps. Apply means specifically the structural placement (step 4) — bead, place, flow, flash cure.
How to use nail builder gel for beginners? Start with overlays (no length). Practice the apex placement on a wheel before live application if possible. Use a self-leveling formula. Cure thumbs separately. Read the lifting and not-curing pages to understand what failure looks like.
How long should I cure builder gel? 60 seconds under 48W+ LED for clear, soak-off builders. Add 30-60 seconds for tinted formulas. 90-120 seconds for thumbs. Hard gels often cure faster (20-30 seconds for Kokoist Excel).
Can you put builder gel on natural nails? Yes — natural nail overlays are the most common use case. Builder gel adds 0.3-0.5mm of structural protection without changing length.
Do I need a base coat with builder gel? Most builder gel formulas perform best with a thin base coat. Some 4-in-1 builders (OPI GELevate) act as their own base.
How thick should builder gel be? At the apex (highest point): 1.5-2mm. At the cuticle: very thin, almost translucent. At the free edge: 0.5-1mm. The structure tapers from apex outward.
How to make builder gel last 3 weeks? Three habits: cap the free edge in step 7, refresh top coat at day 10, and avoid prolonged hot water exposure. Together these add 5-10 days to typical wear time.
How to fix mistakes mid-application? If the bead is misplaced and not yet cured, wipe off with a wet brush or alcohol-soaked wipe. If the layer is cured, file off and rebuild the affected area.
A Safety Reminder
Builder gel uses acrylate chemistry that can sensitize skin over time. The American Academy of Dermatology covers acrylate contact dermatitis — if you experience redness, itching, or burning around the cuticles after application, stop and see a dermatologist before continuing.
Final Notes from Sara
Slow down on steps 1, 4, and 7. Those are the three steps that matter most. Prep determines wear time. Apex placement determines structure. Top coat cap determines free-edge longevity.
Everything else is technique that improves with practice. Your first 5 sets will be rough. Your 10th set will look respectable. By set 20, you will be doing them faster than the salon does.
For the underlying foundational concepts, see the Builder Gel Nails pillar. For removal when this set runs its course, see how to remove builder gel.
Last updated May 2026. This article uses AI assistance for research and structure; all techniques and process steps come from my own client work and DIY teaching.