How to remove builder gel without drill is one of the most common at-home questions I get, and the honest answer is that you do not need a nail drill (e-file) at all. For at-home users, the manual file-and-soak method is actually safer than e-file removal — DIY e-files run too fast, generate too much heat, and damage natural nails when used by anyone without proper training. A simple hand file plus pure acetone gets you cleaner, gentler removal in about 30 minutes.
This guide is the complete no-drill removal protocol. If you have a drill and want to use it, see the main builder gel removal guide for that approach.
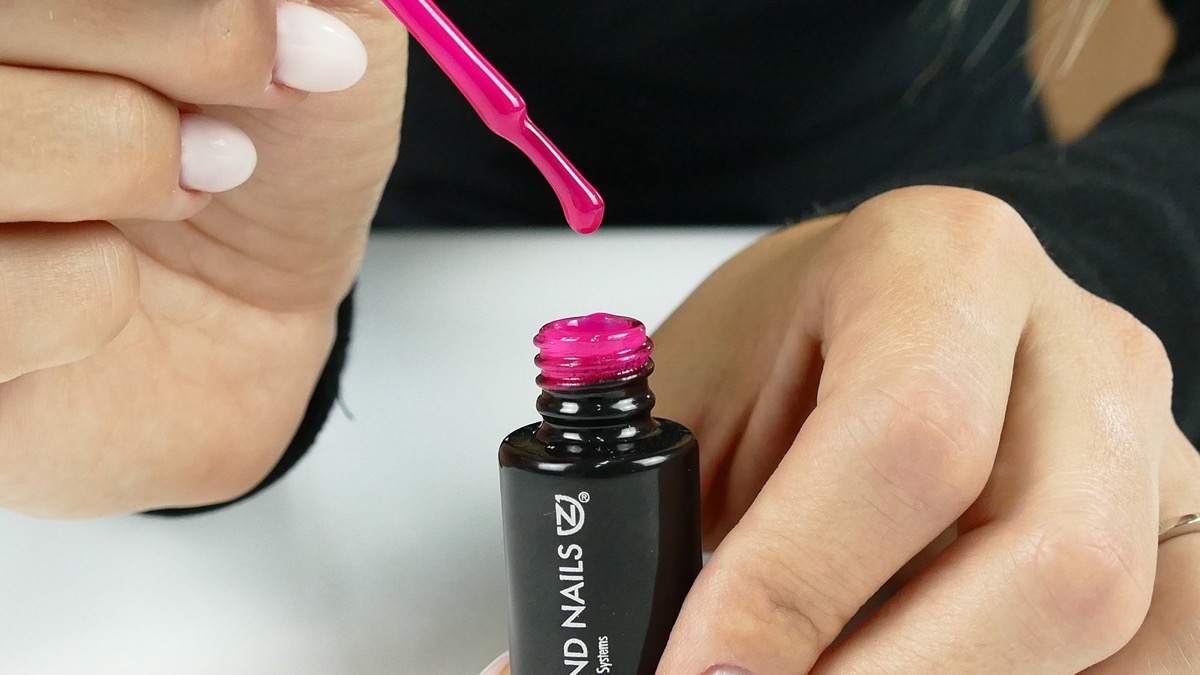
No-Drill Removal Picks
Builder gel kits with hand files (no e-file needed)
The Amazon-stocked kits below ship with the 100/180 + 240 hand files required for safe soak-and-file removal — no drill, no heat damage.

Cutex Gel Nail Polish Remover, Ultra-Powerful & Removes Glitter and Dark Colored Paints, Paraben Free, 6.76 Fl Oz
$2.79

HiMo 10PC Plastic Acrylic Nail Art Soak Off Cap Clip UV Gel Polish Remover Wrap Tool (Pink)
$4.99

UNA GELLA 20ml*2PCS Nail Glue Remover for Press on, Multi-Functional Pinpoint Glue Remover Fast Removal Gentle Non-Acetone with Crystal Sticks for Nails Polish False Acrylic Nail Tips Home DIY
$9.99

Teenitor Nail Polish Gel Remover Tools Kit with Nail Clips Nail Remover Pads Cuticle Pusher Nail Brushes Nail File Grits 120/180 Buffer Block Grits 400/4000, 6 Pack Purple
$7.99
Scroll →
Why No-Drill Removal Is Often Better
The case against DIY e-files for at-home builder gel removal:
- Heat damage — e-files spinning at 25,000+ RPM generate friction heat. Trained pros control this; amateurs cause heat spikes that damage the nail bed.
- Speed-related mistakes — at e-file speed, a 1-second mistake is hard to undo. Hand files give you time to react.
- Bit selection complexity — pro e-file removal uses specific bits (carbide, fine-grit barrel, sanding bands) at specific speeds. Wrong bit + wrong speed = damage.
- Overshoot risk — e-files easily file through the gel into the natural nail bed. Hand files are slow enough that you feel the layer change before damage happens.
For pros with training, e-files save real time. For at-home users, manual removal is the safer choice. The American Academy of Dermatology has published guidance on safe at-home gel removal, generally recommending acetone-soak methods over aggressive filing for nail-bed health.
What You'll Need (No Drill Required)
- 100/180-grit hand file — for the bulk file-down
- 220-grit buffer or file — for the final smoothing
- 100% pure acetone — store-brand "100% acetone" is fine; "polish remover" with conditioners is NOT
- Cotton balls or pads — cut to nail size
- Aluminum foil — cut into 3" squares (or use silicone "cap" wraps as reusable alternative)
- Wooden cuticle pusher — gentler than metal during soak removal
- Cuticle oil — for aftercare
- Optional: warm towel to drape over fingers (heat speeds the soak)
Total tool cost: under $20 if you don't already have these. Reusable for years.
Step-by-Step No-Drill Removal
Plan for 30 minutes total, mostly hands-off soak time.
Step 1 — File Down 80% of the Bulk (5-10 minutes)
Use the 100/180-grit hand file at a flat angle to remove most of the builder gel. Work in long, even strokes across each nail.
How to know when to stop:
- The remaining gel layer is thin and slightly translucent
- You can see the natural nail shape through the gel
- Surface looks scratched/cloudy (correct — this lets acetone penetrate)
- Do NOT file all the way to natural nail — leave a thin gel layer
The most common mistake is filing too aggressively and hitting the natural nail. Soft strokes, multiple passes, listen for the file's sound to change as you cut into the gel layer.

Step 2 — Prepare Acetone Wraps (2 minutes)
Cut cotton into nail-sized squares. Cut foil into 3" squares (one per nail). Pour acetone into a small dish.
If using silicone caps: have them ready instead of foil.
Step 3 — Saturate and Wrap Each Nail (3-5 minutes)
For each finger:
- Soak cotton in acetone (saturated but not dripping)
- Place cotton on the nail surface
- Wrap foil tightly around the fingertip — air-tight is what makes this work
- Press at the cuticle area to seal
The seal matters. Acetone evaporates fast — open or loose foil = no soak.

Step 4 — Soak (15-20 minutes)
Set a timer. Drape a warm towel over your hands — heat speeds acetone breakdown of the gel. Resist the urge to peek before 15 minutes.
For very thick gel layers (rare but possible), 25 minutes may be needed. Budget for 20 minutes as default.
Step 5 — Test and Push Off (5-10 minutes)
Remove one foil wrap as a test:
- Gel pushes off easily with the wooden pusher → success, continue
- Gel resists pushing → re-wrap and soak another 5-10 minutes
When pushing off, work from cuticle toward the free edge. Soft sheets/flakes = correct. Forcing scraping = not soft enough. Patience here is the difference between healthy nails and damaged nails.
Step 6 — Buff Lightly and Apply Cuticle Oil (2-3 minutes)
After all gel is removed:
- Lightly buff with 220-grit to smooth any residual gel
- Wipe with alcohol to clean
- Apply cuticle oil generously — acetone is dehydrating, the nail and skin need rehydration
If you need the broader removal context, see the dedicated removal guide.
Read next
How to Remove Builder Gel at Home Safely: 3 Methods Compared (2026)
Three methods to remove builder gel — file-and-soak, file-only, and salon e-file — compared on time, safety, and nail-health impact. Plus a detailed step-by-step for the safest at-home method.
Continue readingWhen the No-Drill Method Doesn't Work
Some situations need a different approach:
Hard Gel (Not Soak-Off)
If your gel was applied as hard gel rather than soft (soak-off) builder gel, acetone barely affects it. The hand-file method becomes a 30-45 minute filing exercise that risks natural-nail damage. For hard gels, salon e-file by a trained tech is the right call.
How to know if it was hard gel: file off about 30% of the bulk, then soak for 5 minutes as a test. If the gel softens noticeably, it's soak-off (continue). If no change, it's likely hard gel — stop and see a pro.
Very Thick Builder Gel Sets
If the original set was very thick (long extensions, multiple builder layers), the bulk file-down step may take 15-20 minutes instead of 5-10. That's fine — patience here is correct. Don't shortcut by soaking thick gel; the acetone can't penetrate the layers.
Suspected Infection
Green, yellow, or black discoloration; pain, heat, or swelling around the nail; pus or oozing — these need a doctor or dermatologist, not a removal protocol. Stop and seek medical attention.
Acetone Allergy
Some users have skin sensitivity to acetone. Symptoms: red, itchy, or burning skin around the nails after the soak. Acetone-alternative removers exist but are slower; salon removal may be the better path.
When to Stop and See a Pro
Beyond the situations above:
- The gel will not soften after two full soak cycles (likely hard gel or extremely thick application)
- Your nails feel hot, painful, or inflamed
- You see persistent green discoloration on the natural nail
- The nail bed feels separated from the underlying tissue
- You're seeing lifting + redness + itching together (possible acrylate sensitization)
For sensitization concerns, the American Academy of Dermatology covers acrylate contact dermatitis — if symptoms match, see a dermatologist before continuing with any gel products.
Preventing Damage During Future Removals
Once you've successfully done a no-drill removal once, repeat the same protocol next time. Specific habits that protect natural nails over multiple cycles:
- Never peel or pry — peeling tears layers of natural nail off. Single most damaging removal habit.
- Don't over-file to bare nail — leave a thin gel layer for acetone to break down. Bare-nail filing thins the natural plate.
- Use 100% pure acetone — not "polish remover" with conditioners (those don't break down builder gel).
- Keep cuticle oil in your routine — applied 2-3 times daily for 24-48 hours after removal.
- Take occasional breaks — every 4-6 sets, take 5-7 days bare-nail with consistent cuticle oil.
For natural-nail recovery between sets, see builder gel on natural nails.
Read next
Builder Gel on Natural Nails: The Strengthen-and-Protect Guide (2026)
Builder gel is the gentlest enhancement option for weak, peeling, or recovering natural nails. Here's exactly when to use it, how to apply it differently than for extensions, and the recovery schedule that prevents long-term thinning.
Continue readingCommon No-Drill Removal Mistakes
| Mistake | Why it's bad | Fix |
|---|---|---|
| Skipping the file-down step | Acetone can't penetrate thick gel | Always file 80% before soaking |
| Using metal pusher to scrape resistant gel | Scratches natural nail | Wooden pusher only; if gel resists, re-soak |
| Over-soaking for 45+ min at a time | Dehydrates skin badly, no extra benefit | 20 min max per soak cycle |
| Reapplying gel immediately on irritated nails | Compounds any sensitization | 1-2 day break minimum, longer if irritation visible |
| Peeling lifted gel off with fingers | Tears nail layers | Stop, file down what's left, soak normally |
| Using polish remover instead of pure acetone | Conditioners prevent gel breakdown | Buy pure acetone (Walmart, drugstore, Amazon — $3-$5) |
Frequently Asked Questions
How to remove builder gel without a drill? File 80% of the bulk gel down with a hand file, then wrap each nail with acetone-soaked cotton and foil for 15-20 minutes. Push off softened gel gently with a wooden pusher. Total time: 30 minutes. Full process detailed above.
Can I remove builder gel without acetone? Not effectively. Soak-off builder gel needs acetone (or a strong solvent) to soften. There is no good acetone-free chemical removal. The only acetone-free approach is full filing, which damages natural nails.
How to remove builder gel without efile? Same as above — the file-and-soak method works with a hand file only. No e-file (electric drill) required.
Why is my builder gel not softening? Three possibilities: (1) you didn't file enough bulk down before soaking, (2) the foil wasn't sealed tight (acetone evaporated), or (3) it's a hard gel rather than a soak-off gel. Hard gel won't soften no matter how long you soak.
Is at-home no-drill removal safe? Yes — safer than DIY e-file removal in unskilled hands. Manual removal is what trained pros recommend for at-home users. The American Academy of Dermatology generally favors gentle acetone-soak methods over aggressive filing.
No drill builder gel removal — how long does it take? 30 minutes total for a full set. Mostly hands-off soak time (15-20 minutes). Active work: 10-15 minutes (filing and pushing off).
Can I use a peel-off base to make removal easier? Some peel-off base coats exist. They reduce removal effort but typically also reduce wear time (sets last 7-10 days instead of 18-21). Useful for short-term wear; not recommended for regular use.
How to remove BIAB without a drill? Same protocol. BIAB is a soak-off builder gel — file 80%, acetone soak 15-20 min, push off, buff, oil.
Builder gel removal at home no drill — do I need anything special? No. Standard hand files, pure acetone, cotton, foil, and a wooden pusher cover all needs. Total tool investment under $20.
Builder gel soak off no drill — how often is it safe? Every 2-4 weeks (your normal removal cycle) is fine when done correctly. Every 1-2 weeks (very frequent removal) starts to dehydrate the natural nail. Aim for 3-week cycles minimum between full removals.
Final Notes from Sara
No-drill builder gel removal is the at-home standard for safe nail-bed health. The file-and-soak method takes 30 minutes, requires no specialized equipment, and produces cleaner removal than rushed e-file work in unskilled hands.
The single most important habit is patience — file 80% before soak, don't peek before 15 minutes, push off only when soft. Each shortcut you take during removal compounds into nail damage over multiple cycles.
For the broader removal context, see how to remove builder gel. For the application step that comes before removal, see how to use builder gel. For the foundation that ties everything together, see the Builder Gel Nails pillar.
If you've removed correctly but your natural nails feel weakened, see builder gel on natural nails for the strengthening protocol that helps recovery.
Last updated May 2026. This article uses AI assistance for research and structure; all techniques and protocols come from my own client work and at-home experience.