Builder Gel Nails: The Complete Beginner's Guide (2026)
Sara Kim
Licensed Nail Technician & Educator
Disclosure: We independently review everything we recommend. When you buy through our links, we may earn a commission.
Builder gel nails are the number one service I recommend for clients who want strength without the bulk of acrylic. This is the core Builder Gel Nails guide I point new clients to in 2026 because it explains the real differences between builder gel, BIAB, and hard gel without the marketing noise.
What You'll Learn
- What builder gel nails actually are and why they are often confused with BIAB or hard gel
- How builder gel compares to acrylic, polygel, Gel-X, and dip powder at a glance
- Who builder gel is best for and who should skip it
- A high-level view of the application process and common problem diagnostics
- Which 2026 kits and products are worth checking out
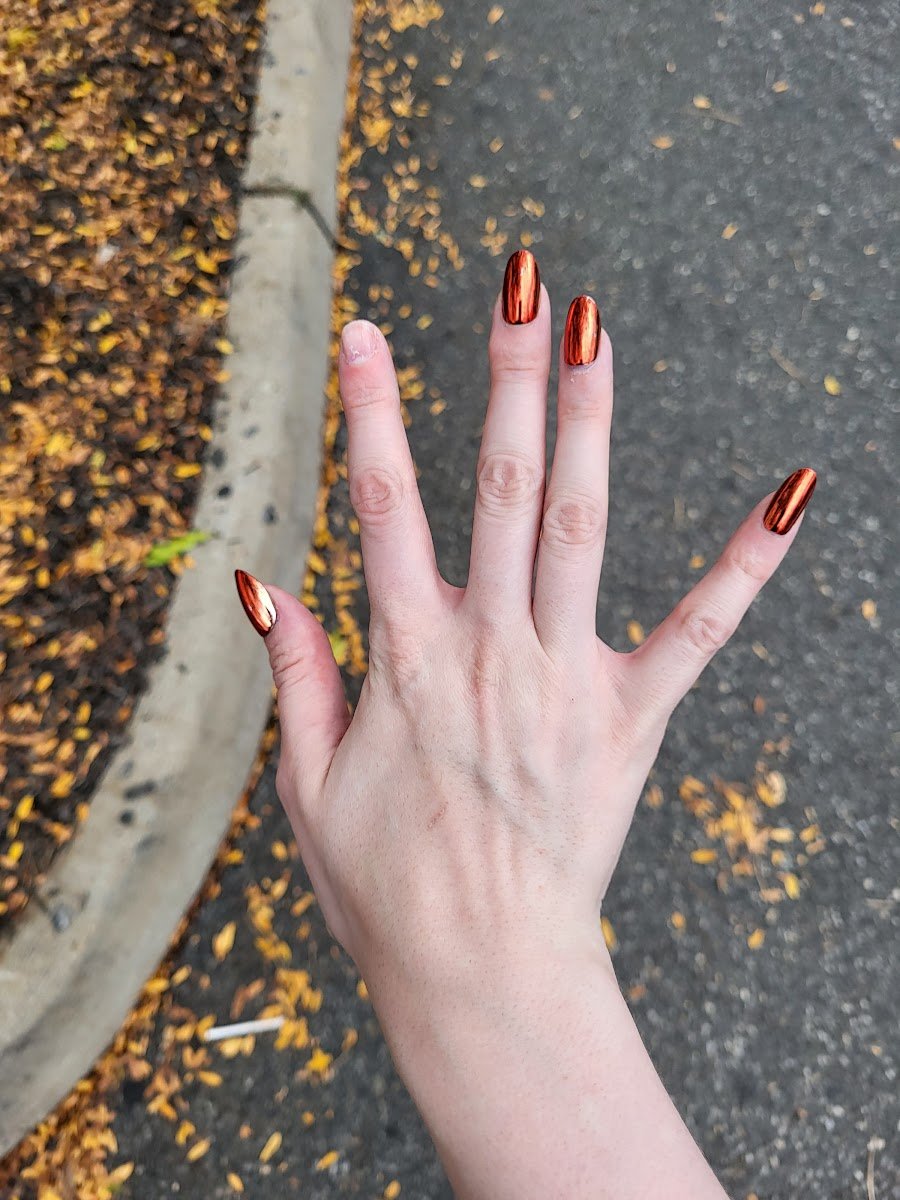
What Are Builder Gel Nails
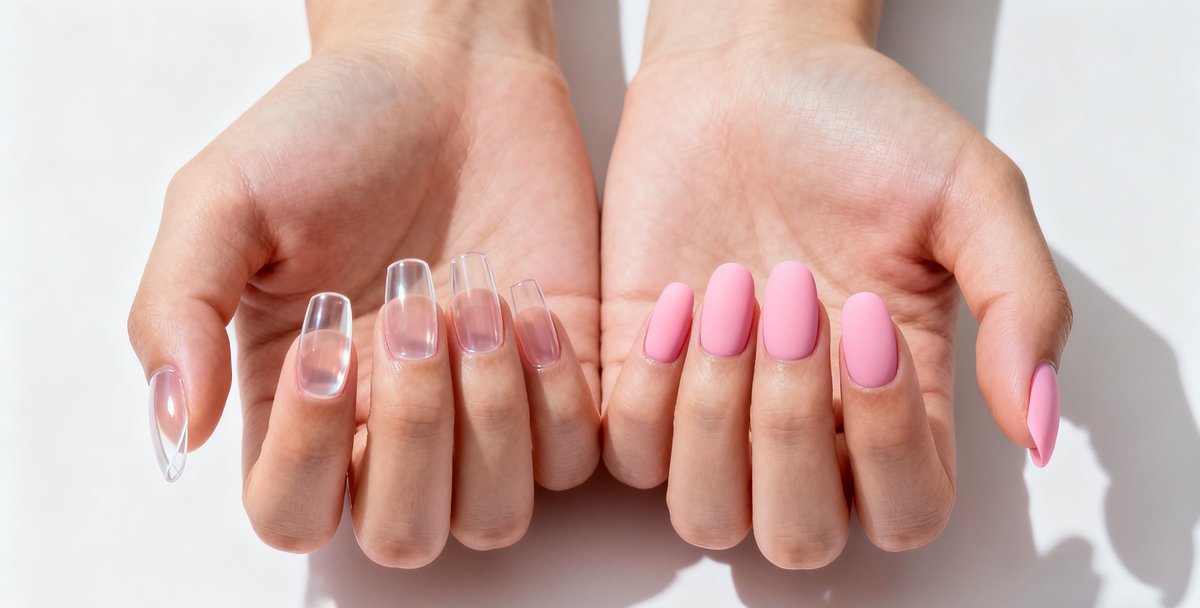
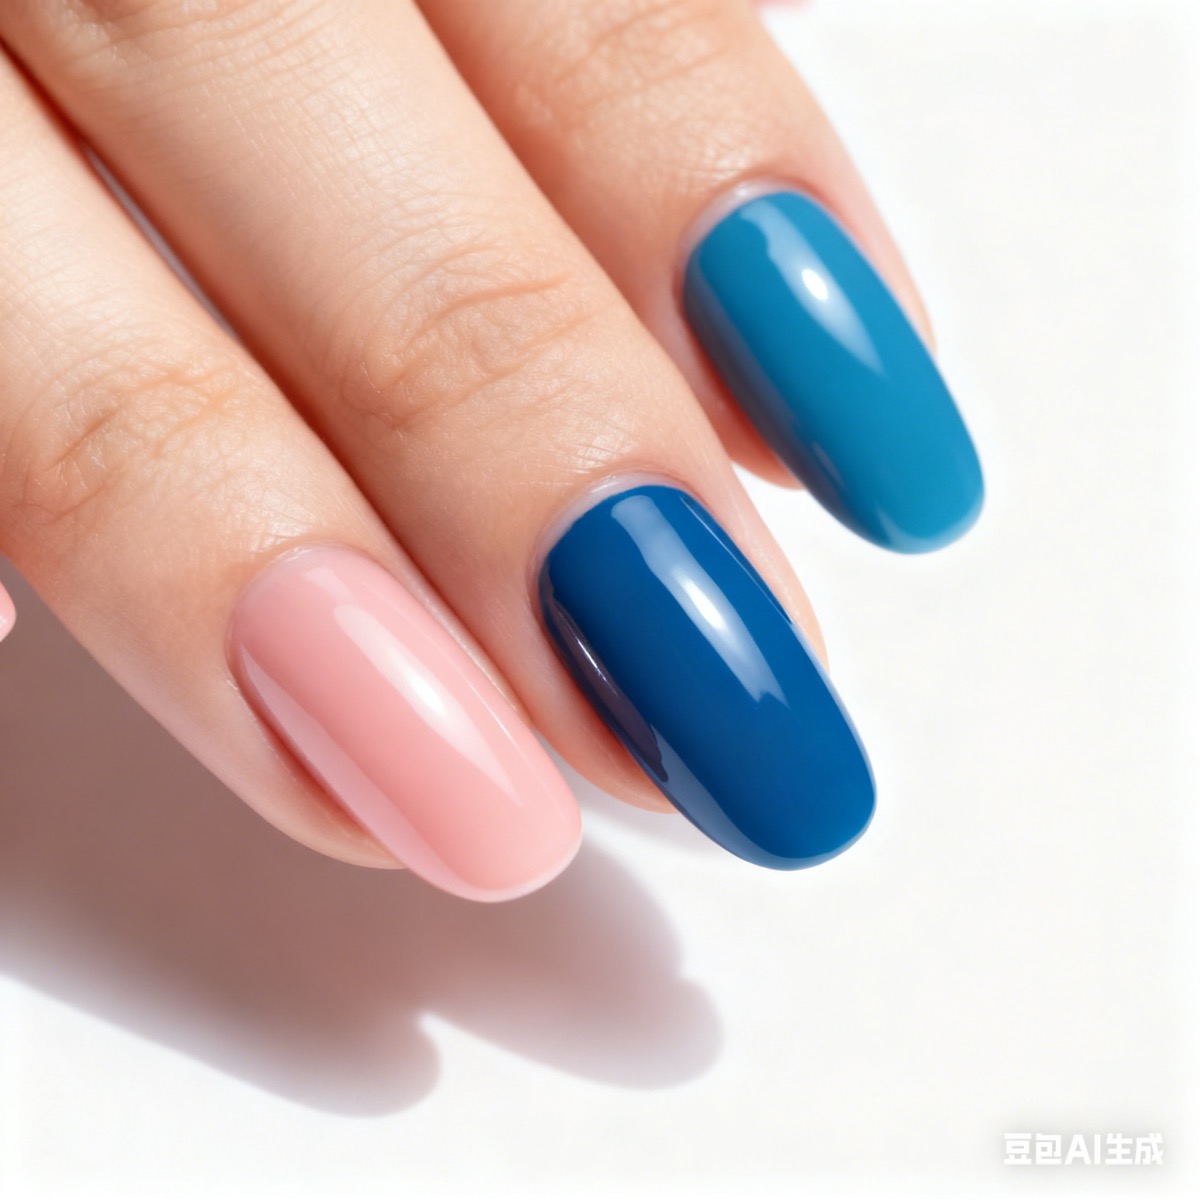
Builder gel is a thicker, self-leveling gel that builds structure and an apex. Builder gel nails are simply natural nails or short extensions that are reinforced with this builder layer for strength and shape. BIAB (builder in a bottle) is the same concept packaged in a brush-on bottle, while hard gel is a stronger, file-off version that does not soak off.
In the salon, I use builder gel to create a protective overlay on weak or peeling nails, or to build a short extension with forms. The product stays flexible enough for daily life but strong enough to keep the free edge from cracking.
Why Builder Gel Exists (And Why People Get Confused)
Builder gel exists because clients wanted something stronger than gel polish but lighter and less dusty than acrylic. The confusion happens because BIAB is marketing language, hard gels are often labeled as builders, and some brands blur the lines between soak-off and file-off formulas.
If you hear different terms in salons, here is the simplest way I explain it: builder gel and BIAB cure under LED/UV and are easier to remove than hard gel or acrylic. Acrylic is stronger but heavier and requires more filing. Polygel sits in between with a putty-like texture.
Builder Gel vs Other Nail Systems (Summary)
Here is the quick scan before you dive into the full comparisons.
- Builder gel vs acrylic: builder gel is lighter, lower odor, and easier to remove; acrylic is stronger but dustier and has a steeper learning curve.
- Builder gel vs polygel: builder gel self-levels and is faster once you know bead control; polygel gives more open time but needs slip solution.
- Builder gel vs Gel-X: builder gel builds structure on your own nail; Gel-X uses pre-shaped tips for speed.
- Builder gel vs dip powder: builder gel gives smoother structure and easier shaping; dip is faster but less flexible and harder to rebalance.
Builder Gel vs Acrylic: Which Is Better in 2026? (Compared)
A neutral, real-world comparison of builder gel and acrylic based on durability, feel, removal, and who each system fits in 2026.
Read moreBuilder Gel vs Polygel: Which Is Better in 2026? (Compared)
A real-world comparison of builder gel and polygel based on work time, control, durability, and who each system fits in 2026.
Read moreBuilder Gel vs Gel-X: Which Is Better in 2026? (Compared)
Builder gel overlays vs Gel-X tips: a neutral 2026 comparison on speed, feel, removal, and maintenance.
Read moreBuilder Gel vs Dip Powder: Which Is Better in 2026? (Compared)
A neutral 2026 comparison of builder gel and dip powder based on strength, flexibility, removal, and wear.
Read moreWho Builder Gel Is Best For
Builder gel nails are my go-to for:
- Beginners who want strength without a full acrylic setup
- DIY users who want shorter, durable overlays
- Clients with weak, bendy nails who still want a natural feel
Who should avoid it:
- Anyone with active gel allergies or repeated contact reactions
- Clients who want very long extensions without frequent maintenance
- Anyone who will not commit to proper removal
How Builder Gel Nails Are Applied (High-Level)
This is a high-level overview. If you want the full step-by-step, go to the tutorial page.
How to Use Builder Gel: Step-by-Step for Beginners (2026)
A salon-tested, step-by-step builder gel routine for 2026: prep, slip layer, apex, curing, and troubleshooting for long wear.
Read more- Prep: clean cuticle work, remove shine, dehydrate, and prime as needed.
- Application: base coat, slip layer, then build the apex with a controlled bead.
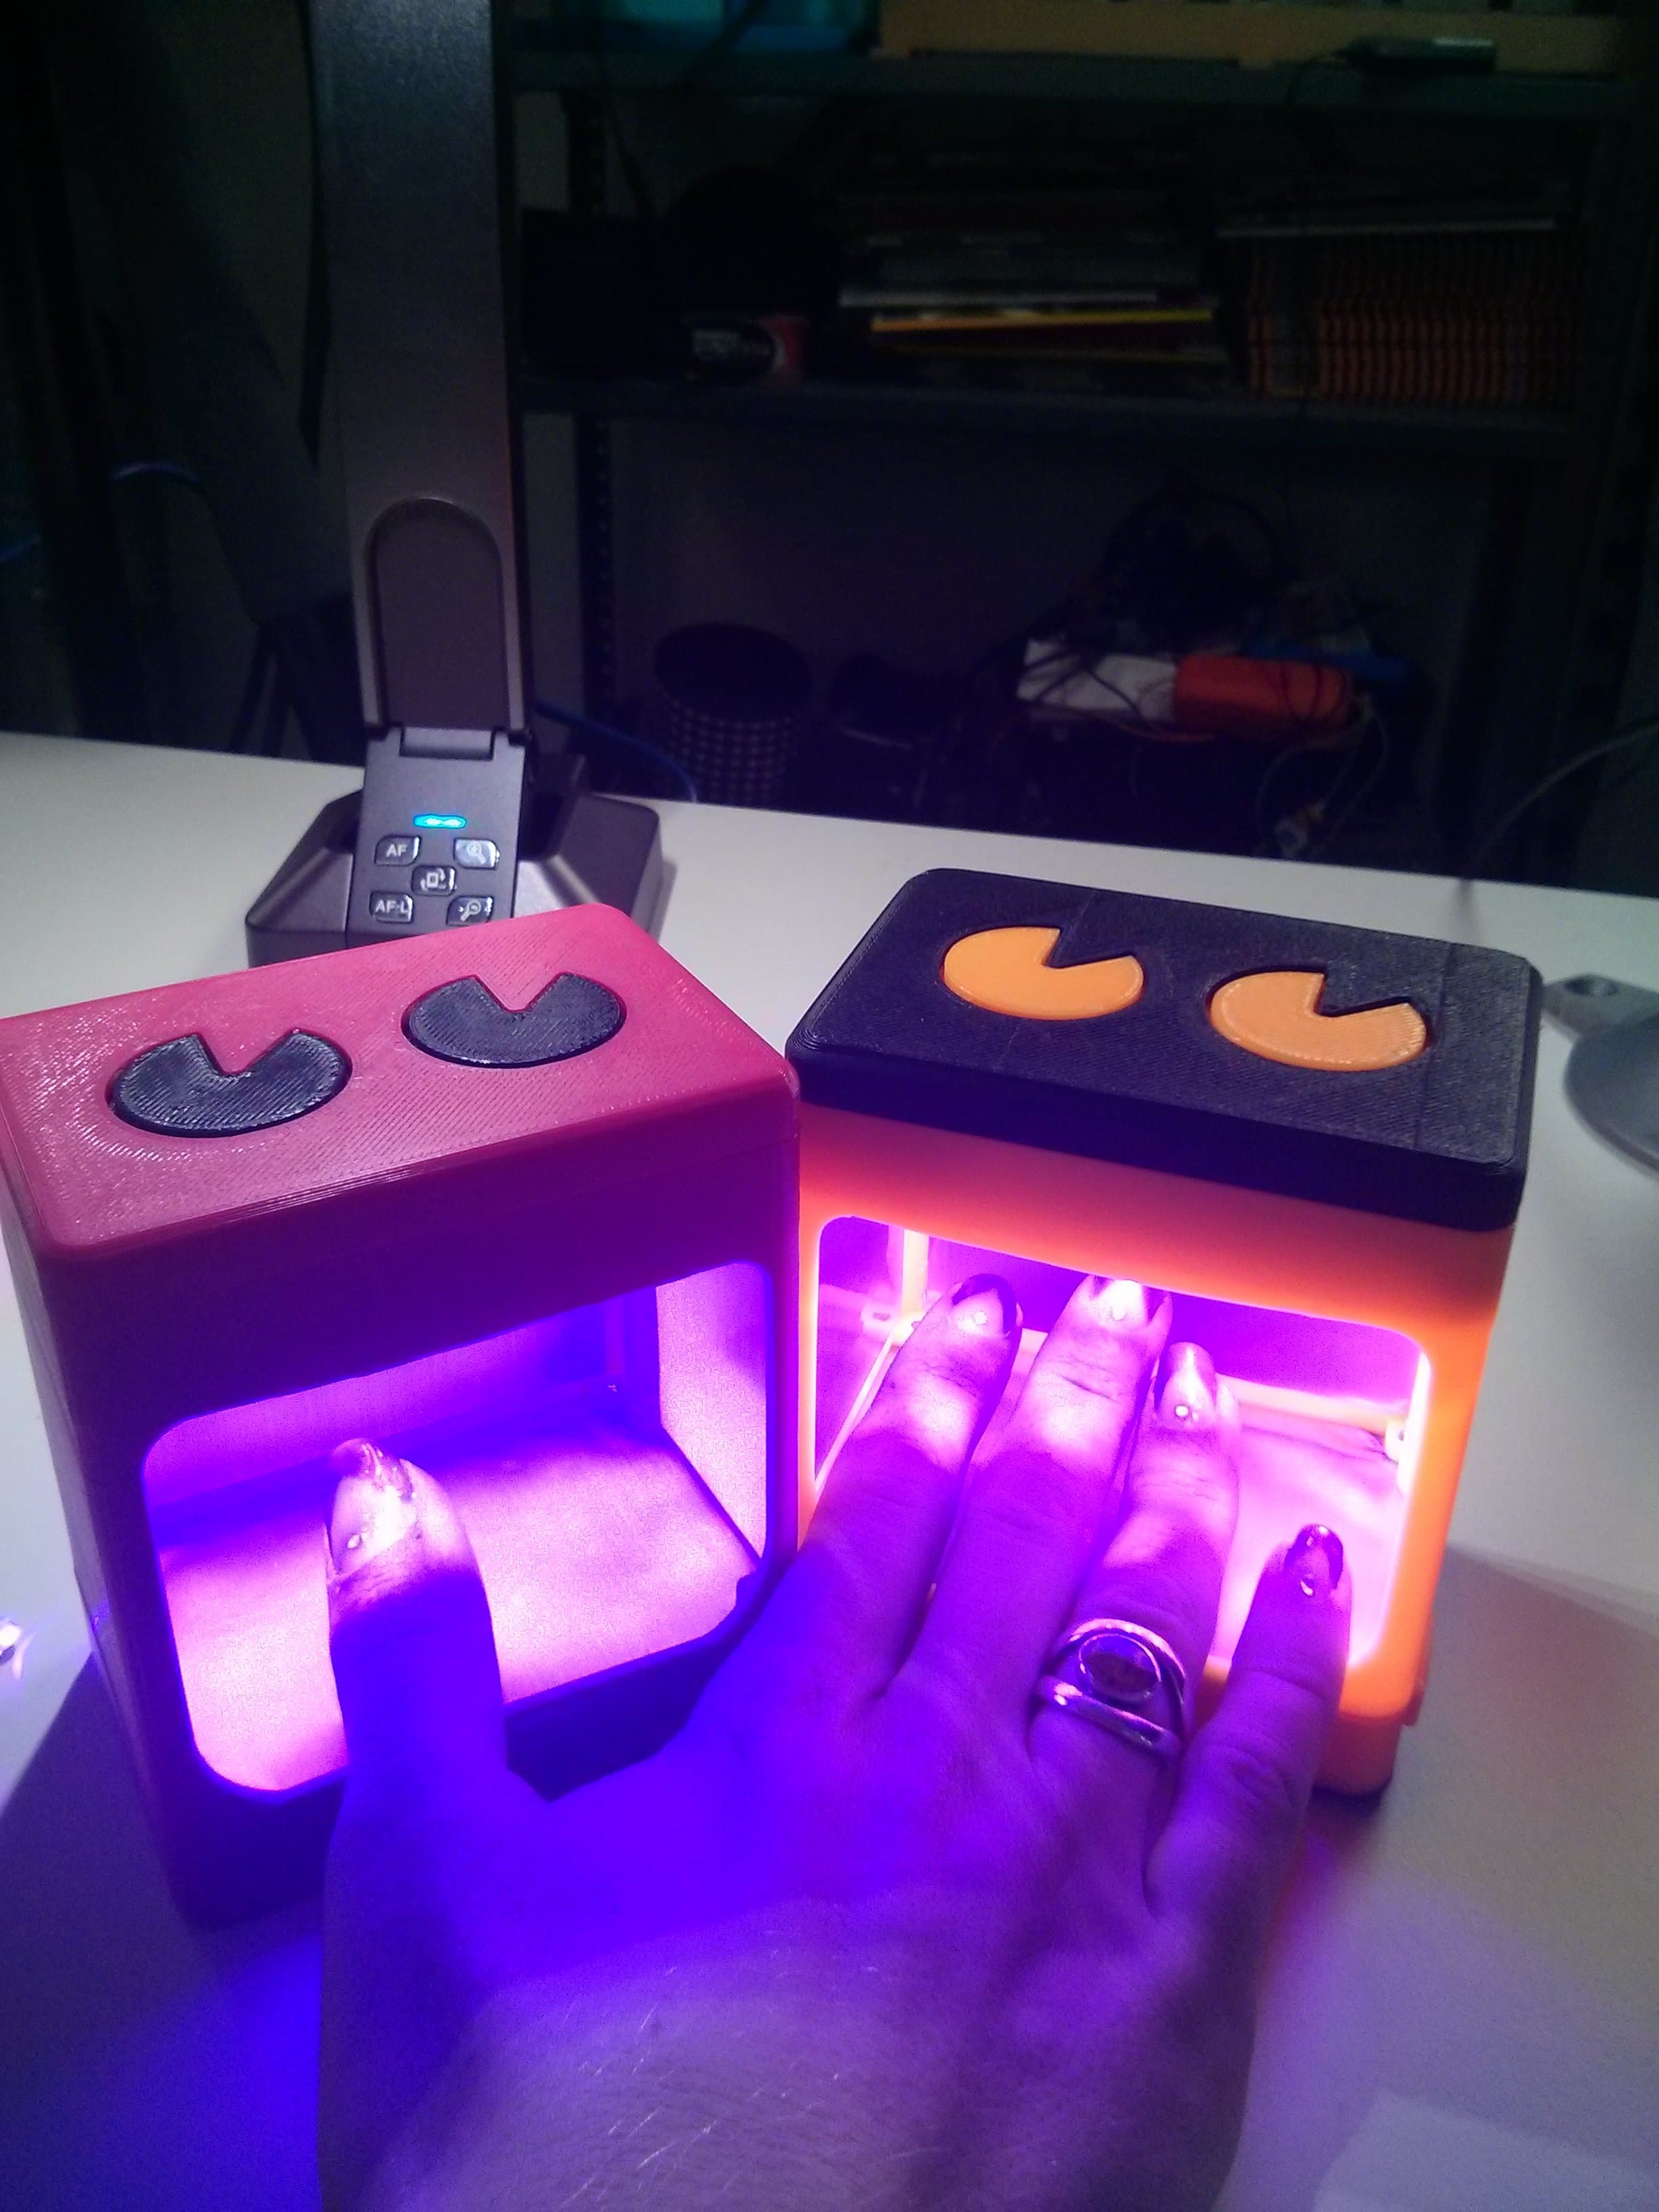
- Curing: flash cure to lock shape, then full cure to clear the gel.
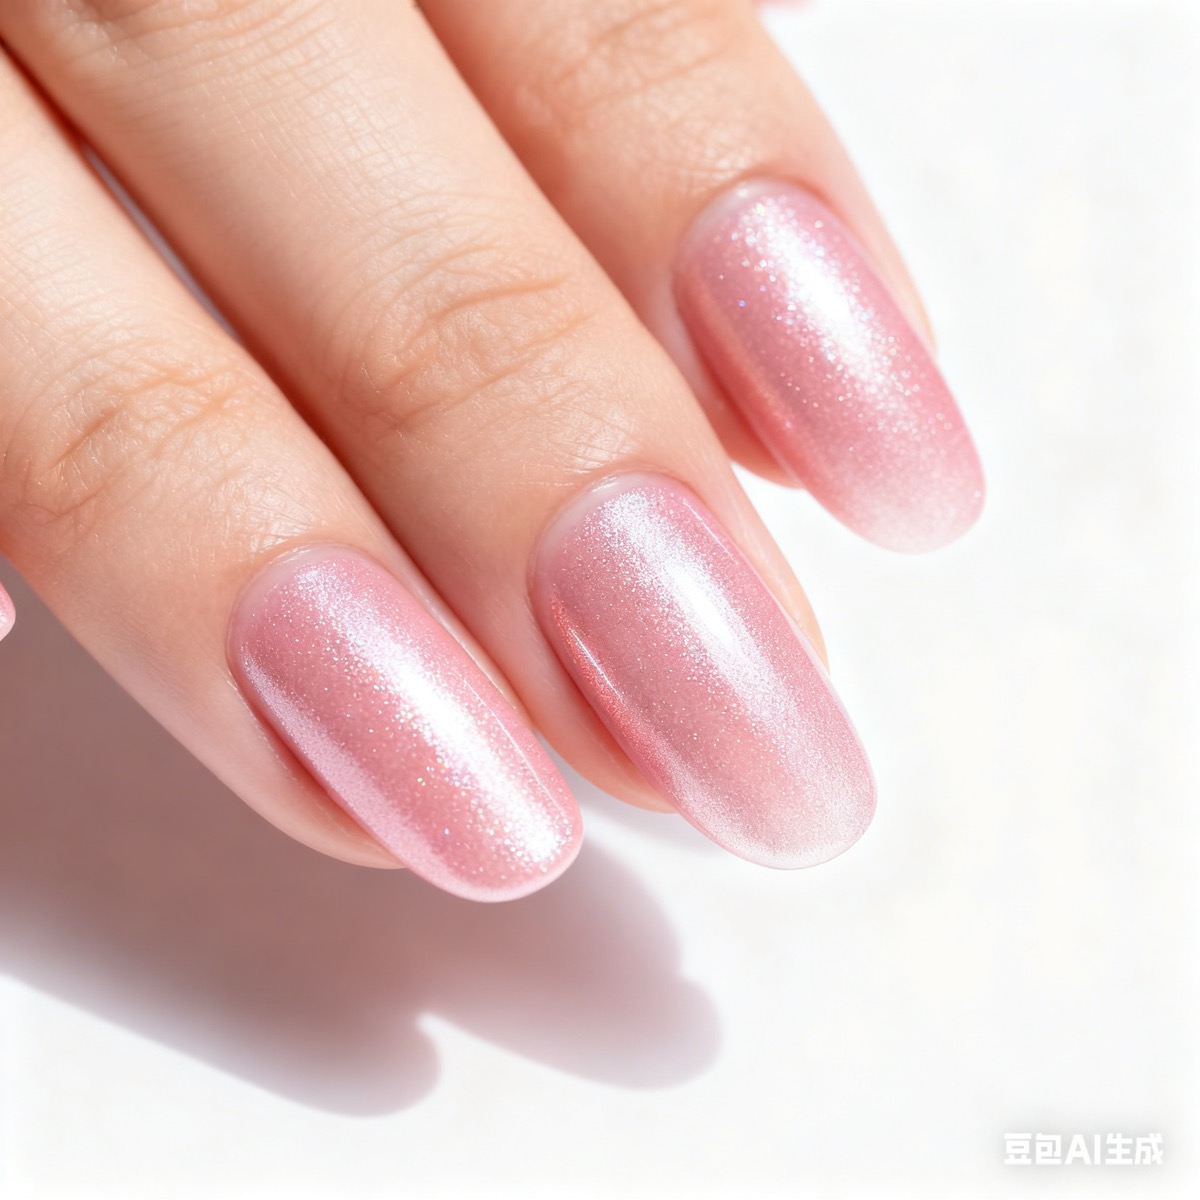
- Finish: refine the shape and seal with top coat.


For removal, do not peel. Use a safe file-and-soak method or see a pro.
How to Remove Builder Gel Safely at Home (2026)
A safe, nail-tech-approved builder gel removal routine for 2026 using file-and-soak steps that protect the nail plate.
Read moreCommon Builder Gel Problems (Quick Diagnosis)
Most problems trace back to prep, product placement, or cure time.
- Cracking: apex too thin or length too long. See cracking fixes.
- Lifting: cuticle prep or gel on skin. See lifting fixes.
- Sticky layer: normal inhibition vs true under-cure. See why builder gel is sticky.
- Not curing: lamp output or thick layers. See builder gel not curing.
- No-drill removal: file and soak method. See remove builder gel without a drill.
Is Builder Gel Bad for Your Nails?
Builder gel is not inherently damaging. The damage comes from poor prep, skin contact, and aggressive removal. When I see thinning or peeling, it is usually because the gel was peeled off or the plate was over-filed.
If you have signs of allergy (redness, itching, burning), stop and switch to a HEMA-free option with careful skin avoidance. Builder gel should feel like a protective shell, not an irritant.
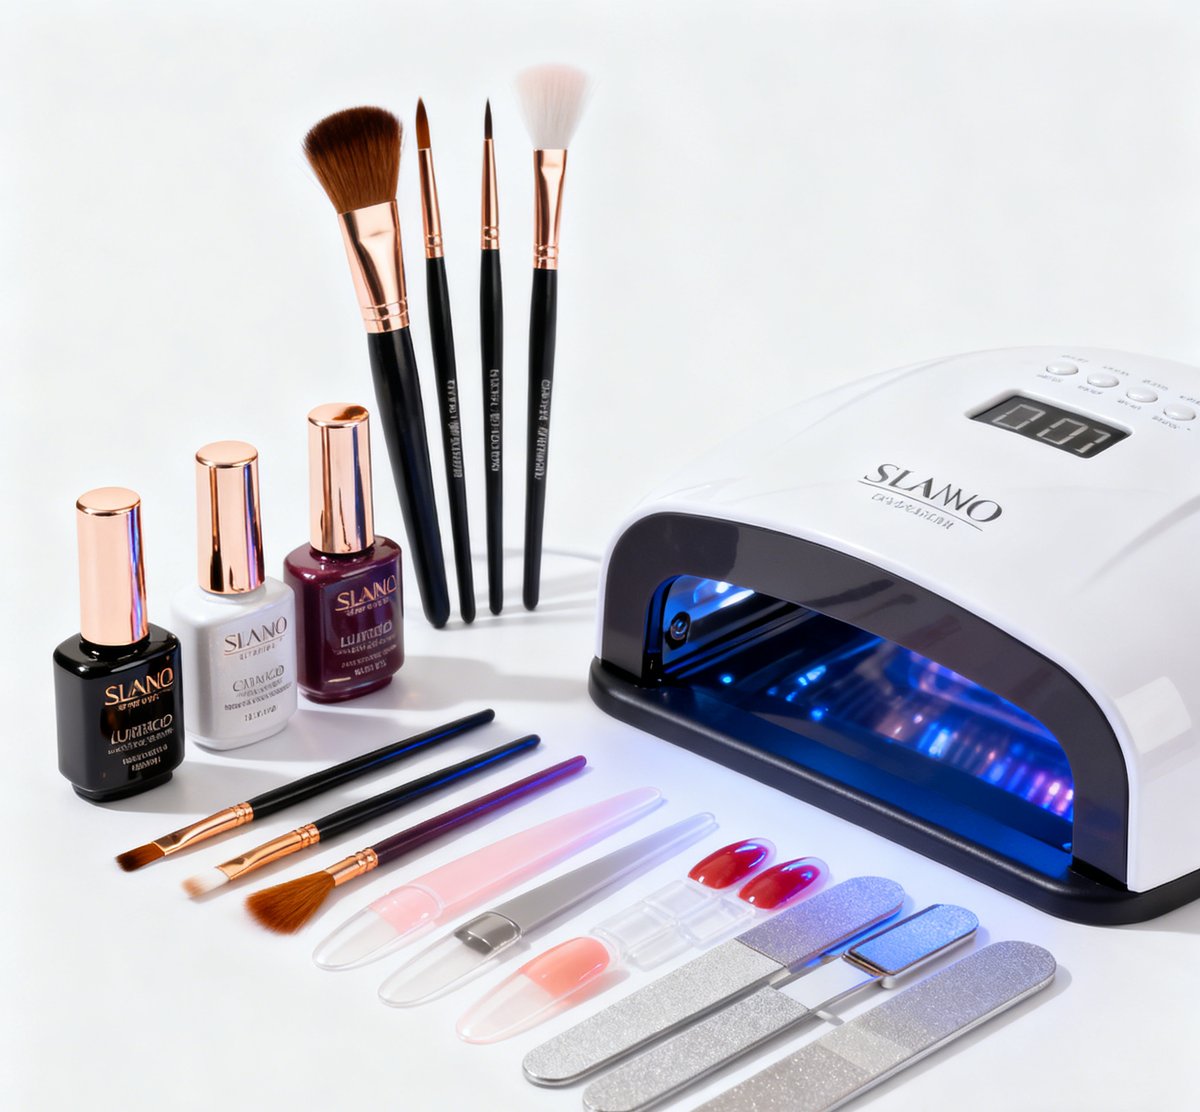
Best Builder Gel Kits (2026 Picks)
I keep this section short here and link to the full rankings. These are the kits and products I see most often in 2026, ranging from beginner kits to pro-grade jars.
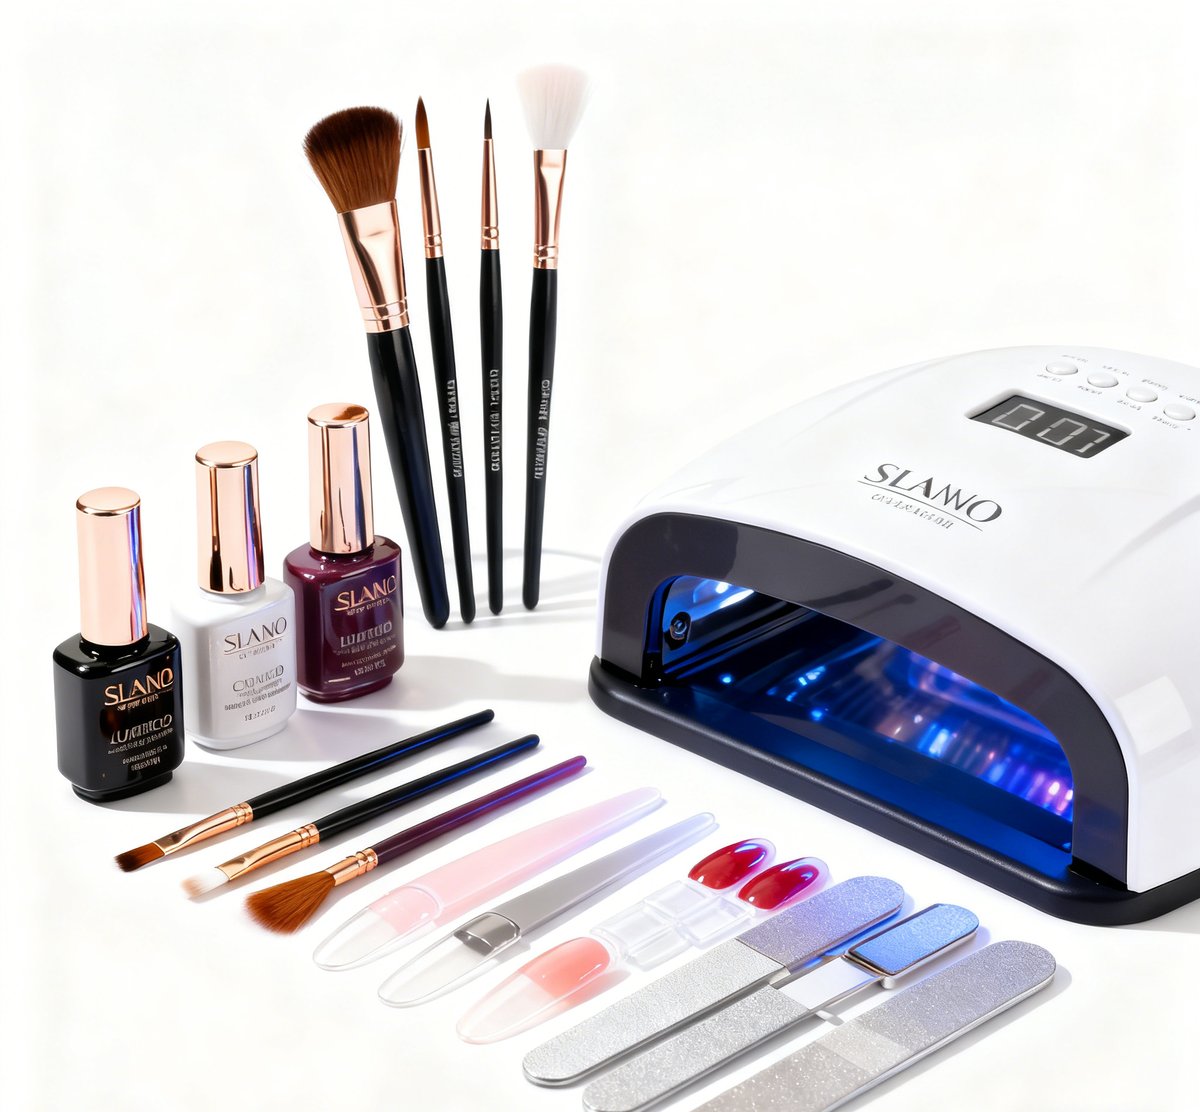
- Full kit rankings: Best Builder Gel Kits (2026)
- Standalone gels: Best Builder Gel Products (2026)
Final Advice for Beginners
Builder gel nails are forgiving when you respect the basics: clean prep, controlled apex, and full cure times. If you are unsure, stay short, go thin at the cuticle, and build structure at the stress point. When in doubt, come back to this Builder Gel Nails guide and follow the steps one by one.
About the Author
Sara Kim
Licensed Nail Technician & Educator
Sara Kim is a licensed nail technician with over 8 years of salon experience specializing in builder gel, BIAB™ (Builder In A Bottle) by The GelBottle, and structured manicures. She has worked with both professional brands and consumer builder gel kits and focuses on nail health, safe removal, and allergen-aware product choices.